1 Bouquet 6 Ways
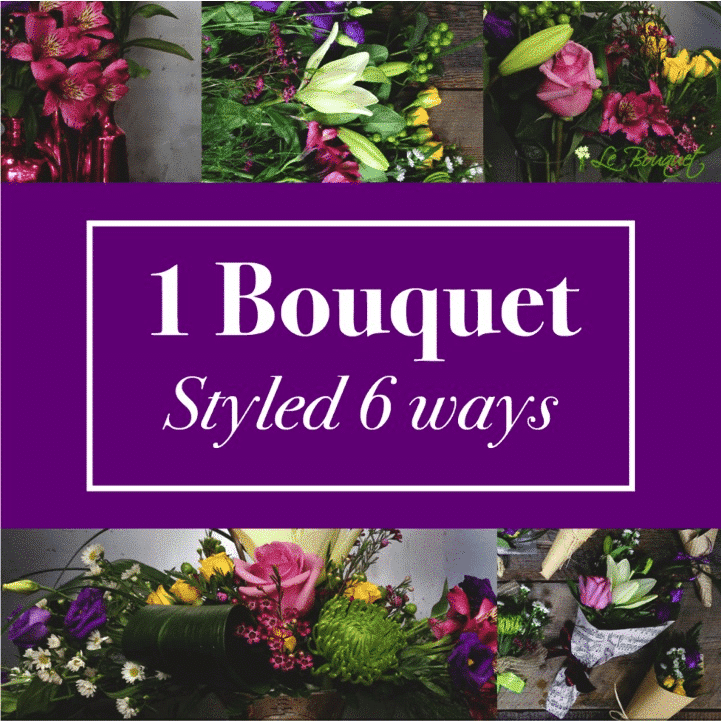
1 Bouquet 6 Ways
Have you ever wondered if there was anything else you could do with your $35 store-bought bouquet besides put it in a vase when you get home? If you’re a do-it-yourselfer like some of us here at the shop, then this post is for you because today we’re going to use one bouquet (and one only!) to demonstrated 6 different arrangements you can do at home. All by yourself. Be sure to invite the neighbors over after so you can show off. Better yet, teach them how to make one of these awesome arrangements! Because sharing is caring.
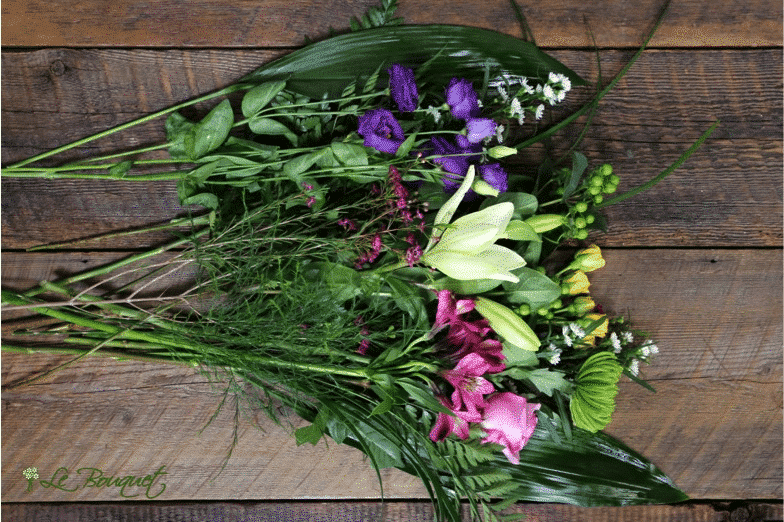
We started with our basic $34.99 bouquet.
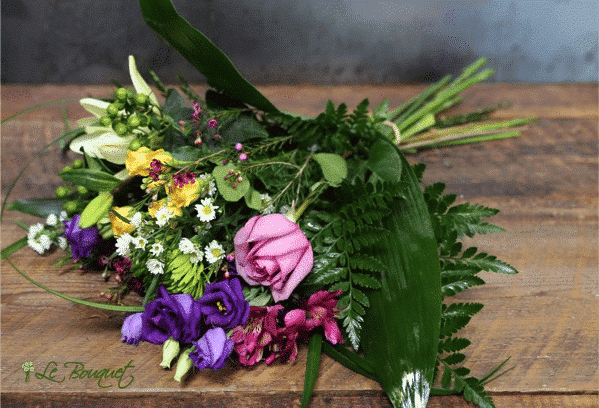
1. Classic Hand-Tied Bouquet
Joseph recommends separating all of your flowers and greenery. Then starting from the middle and working your way around, alternate flowers and greenery with the flowers being higher in the center. Save the big greens for the outside of your bouquet and tie with ribbon or twine. You can wrap the flowers in paper (even something as simple as newspaper really goes well with this color palette), or deliver as-is for a rustic vibe.
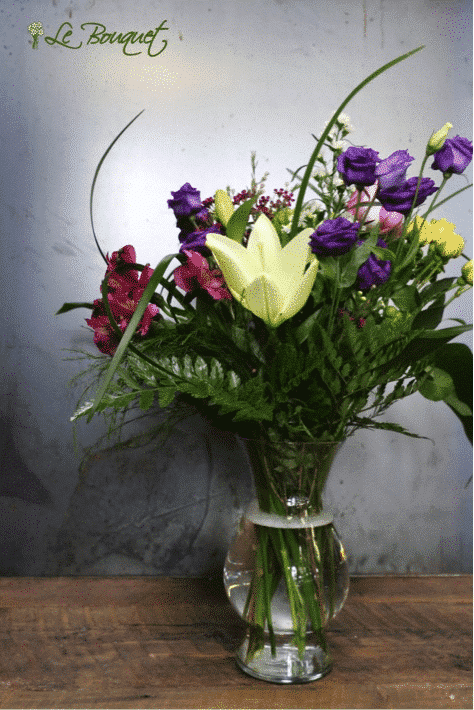
2. The Vase Arrangement
This is the most common, of course, but we’re gonna offer a couple of pointers. Instead of taking the bouquet directly from the packaging to the water, we recommend playing with the shape of the bouquet in the way mentioned above in #1 (unless it already comes in a round shape – then you can just plop it directly in a vase full of water). Play with the shape by cutting the flowers on the outside of the bouquet a little shorter. This will give your bouquet dimension.
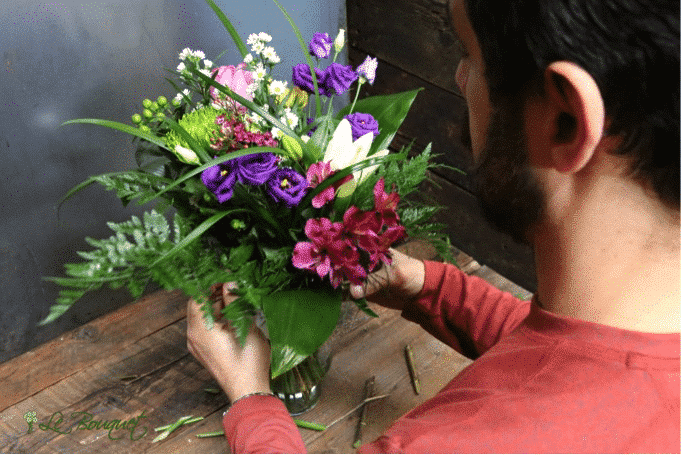
The key word here is play. Flower arranging is fun and when done right, has positive benefits on your health (which we will post about soon!).
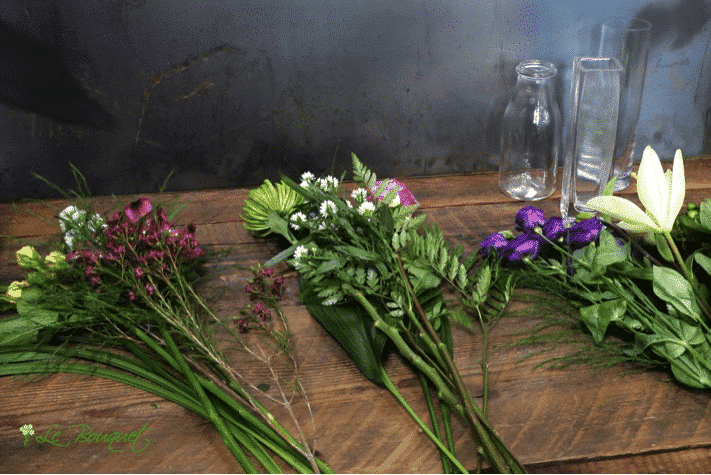
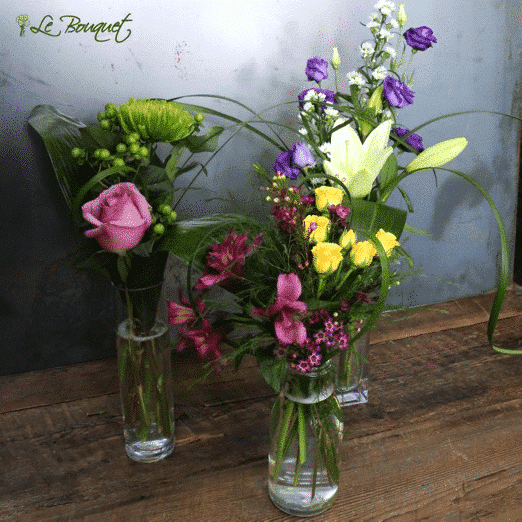
3. Multi-vase Arrangement
Using what you have around the house (mason jars, glass drinking bottles, mismatched vases, etc.), divide the bouquet into three portions. We decided to put the purples and whites together, pinks and greens together, and our dark pinks and yellows together.
Joseph played with the heights of each flower in each container, and you should, too, because there aren’t any specific rules on how to do this. Emphasis on the word play here.
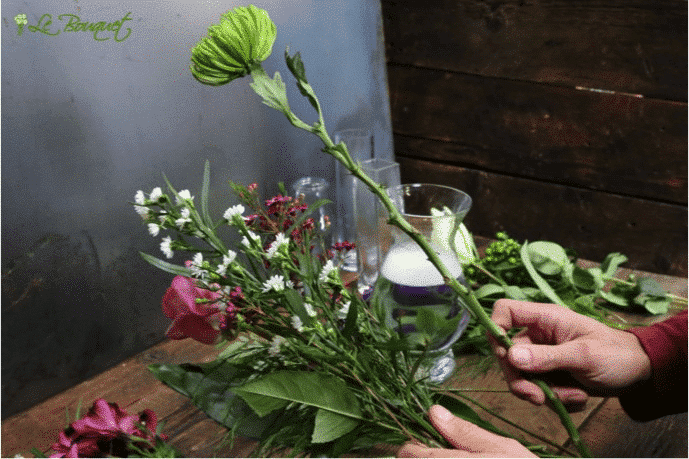
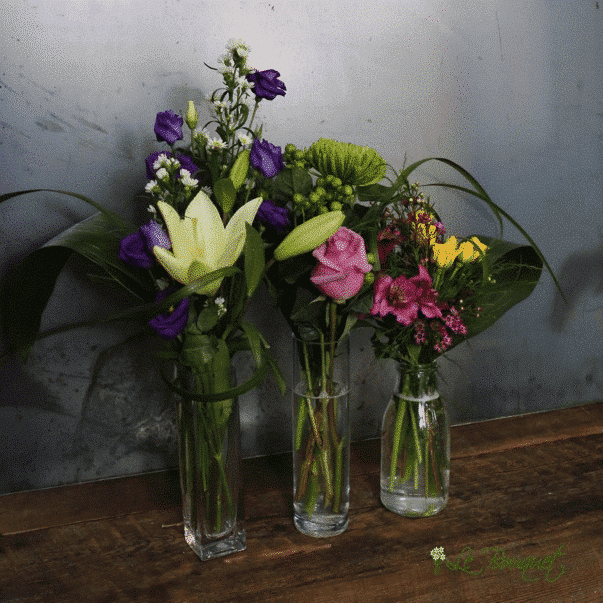
We used the long grass at the very end to add shape and to connect the vases. If you’re really feeling creative, you can connect the vases in different shapes using the wide leaves, like version two of this arrangement.
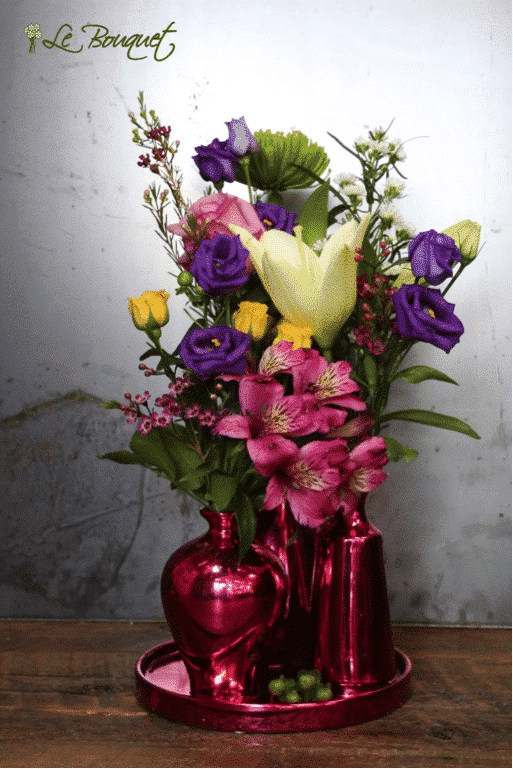
4. All-In-One Vase Arrangement
There are some really fun all-in-one’s out there. In this one, we mimicked the style in #3, keeping the flowers in the same color bunches. But as you’ll see, they’re much closer together and create an entirely different feeling.
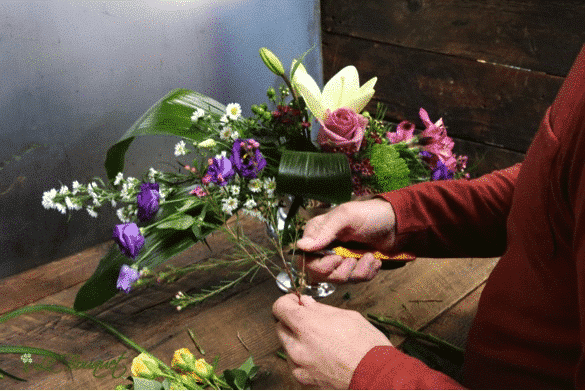
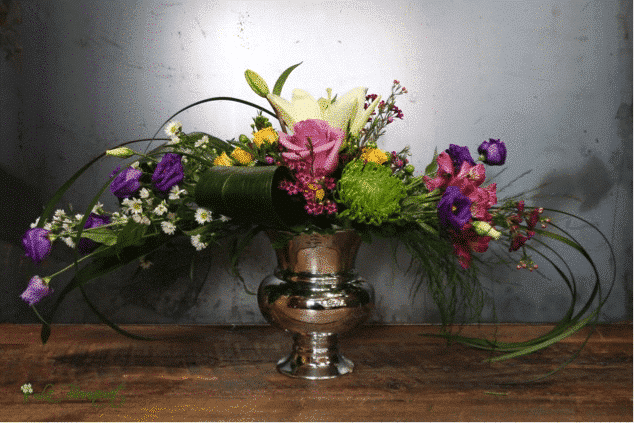
5. Romantic Cascading Arrangement
You’ll need a container wide enough to hold an oasis (green florist’s foam block, already soaked in water). Joseph starts these arrangements by separating the flowers and the greens and placing the most prominent pieces first (in this case the rose and lily). Big leaves are inserted on a side angle so they’ll drape. Flowers on a single stalk, like the rose and the lilies, get clipped pretty short and placed front and center (or wherever you want your eye to go first). Longer stalks with multiple blossoms, like the lisianthus and the alstroemeria, are left long and inserted on a side angle into the oasis on top of any draping leaves. Then the smaller flowers, like the pink wax flower, and any tiny fluffy greens are added as filler for any gaps. (You get more usage out of the smaller branched flowers if you cut them up into several pieces.)
***When working with an oasis sponge it is advised that the stems get inserted as deep into the oasis as possible. This insures that they last longer because that is where the water is, especially if you don’t add water everyday.
***Also important: The flowers should get clipped with a sharp non-serated knife or a good pair of garden shiers – and always at an angle!
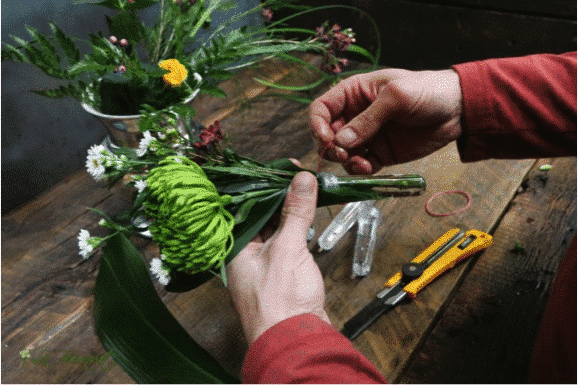
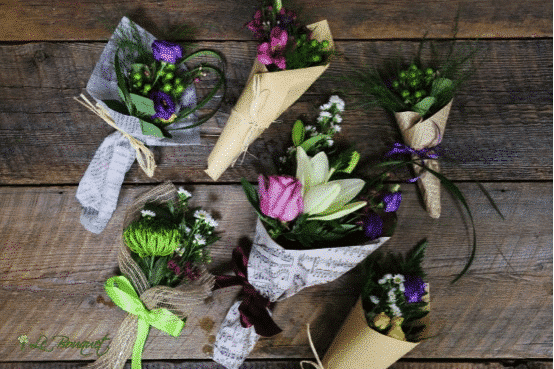
6. Mini Bouquets
What can we say about mini-bouquets other than that they tend to steal the show! We love everything miniature, it seems, and these are no exception. If you want these to last for several days, you’ll need to find yourself some floral tubes (we sell them). Now, mini-bouquets are nearly impossible to mess up if you follow this one simple rule:
For every large single flower (like this green pom pictured below), include a small bunch of filler flowers and then some greens.
Carefully insert them into your tube (if you don’t have a tube, you can wet some paper towel and wrap the ends with saran wrap), and then wrap them in your favorite paper.
Voila! One bouquet suddenly becomes 6 mini-bouquets!
And there you have it. Our basic $34.99 bouquet transformed in 6 different ways. This bouquet can be ordered here.
Wanna share your transformations with us? Post them to our facebook page!